When you first start WeatherTracker you will be asked to create a new station.
Simply choose your station model, give it a name that you like and click the "Create" button.
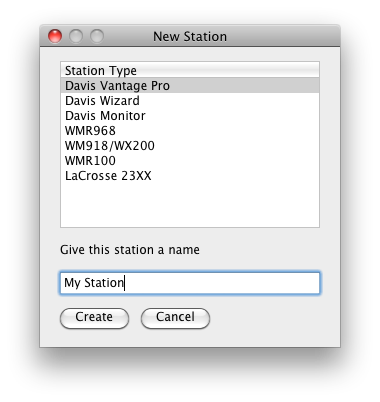
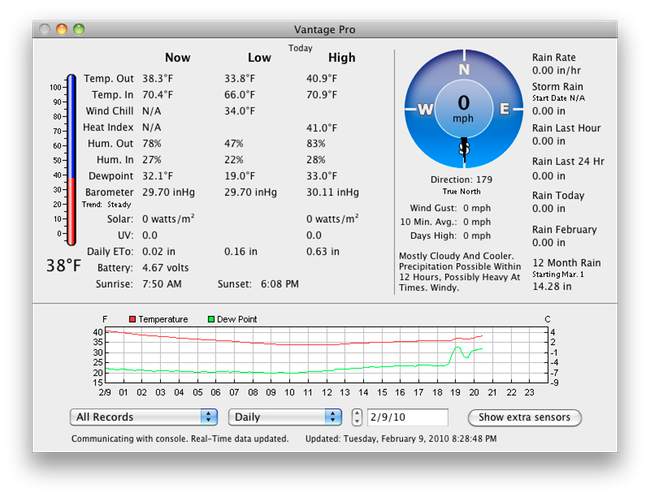
WeatherTracker will create a new station and display that station's main window. (The example shown is the display for a Davis Vantage Line station, your station's window may differ depending on what weather data it collects)
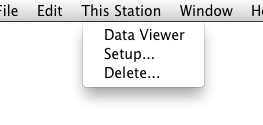
If you have a WMR100 or WMR200 your station will automatically connect otherwise you'll need to configure the serial port your station is connected to. To do this choose the "This Station" menu and choose "Setup..." from the menu's choices.
This brings up your station's setup window where you can configure many of the station's setting. You station's settings window may have different choices but all stations that connect through a serial port will have the "Serial Port" selection in the "Station Communications" section. Choose the serial port your station is connected to from the drop down menu. Note: Only the Davis Vantage stations will have the "Test" button. After making the serial port selection just close the window.

Closing the window makes WeatherTracker try to start a communications session with the station. The status message in the lower left of the window shows how the connection attempt progresses.
If all goes well, you will connect and the weather data will start displaying in the window.
If not please email AfterTen with your troubles or post your question to the support forum.
Connecting and getting data flowing is the first big step in getting started. Use the rest of the documentation to see all the features for your station. Many features apply to all station types and some will be unique to you station type alone.